

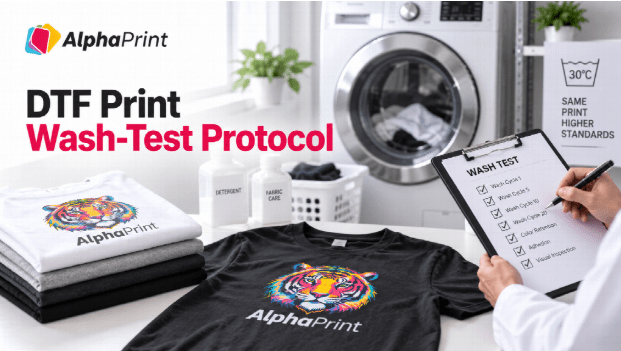
A DTF print can look excellent immediately after pressing and still leave an apparel business with unanswered questions. How will the finished garment behave after repeated customer use? Does one blank perform differently from another? Did a change in application settings improve the result or simply make the first sample look better?
A controlled wash test gives a shop a practical way to evaluate finished apparel before scaling a new combination of transfer, garment, artwork, and pressing process. The goal is not to create a laboratory certification. It is to make internal decisions using samples that were prepared and evaluated in the same way.
Begin With a Clear Test Question
Do not begin by washing several random shirts and hoping to learn something. Decide what the test is intended to compare. You might be evaluating two garment blanks, a new transfer size, a different pressing procedure, or a new artwork style with heavier print coverage.
Change one meaningful variable whenever possible. If the garment, transfer, pressing procedure, and laundry routine all change at the same time, the final result cannot tell you which variable made the difference.
Create a Baseline Sample Record
Before the first wash, give every test garment an identifier. Record the garment type, artwork, transfer size, placement, application settings used, and any relevant production notes. Photograph the finished print under consistent lighting if visual comparison will be part of the test.
If durability is a major buying criterion, reviewing options organized around durable DTF transfers can help define which product category you want to evaluate, but the shop should still test the complete garment-and-application combination it plans to sell.
Standardize the Laundry Routine
A useful comparison requires samples to be treated consistently. Decide in advance how the test garments will be washed and dried, then keep that process the same throughout the comparison. Follow the care instructions appropriate for the garment and transfer being evaluated.
Do not give one sample gentle treatment and another a completely different routine unless that difference is the variable being tested. Consistency is what turns a normal laundry cycle into useful production information.
Record More Than Cracking
Many teams look only for obvious cracking, but a wash-test review can cover several observations. Check whether edges remain visually consistent, whether the print surface changes, whether color appearance changes, whether the garment distorts around the application area, and whether the design remains acceptable to the standard the shop intends to sell.
The evaluation criteria should be defined before testing. Otherwise, a team may unconsciously change its definition of success after seeing the results.
Test Artwork With Different Coverage
Not every DTF design places the same amount of printed material on a garment. A small logo with open space behaves differently as a physical object from a large, solid graphic covering much of the front of a shirt.
If a business routinely sells both small branding marks and large artwork, test representative examples. Options such as DTF transfers by size make it possible to plan different application dimensions, but the finished garment should still be evaluated in the context of the intended design and blank.
Inspect at Defined Checkpoints
Random inspection makes comparisons difficult. Establish checkpoints before starting. A shop might review garments after the initial press, after an early wash stage, and again after additional repeated laundering. The exact schedule matters less than using the same schedule for every sample in that test.
At each checkpoint, use the same evaluation categories. A simple scoring sheet can include appearance, edge condition, surface condition, garment distortion, and overall acceptability. Add a comments field for anything unusual.
Keep Failed Samples
A failed sample can be more valuable than a successful one. Do not immediately discard it. Label it and keep it with the corresponding production notes. Physical samples make it easier to compare what changed between tests.
If the failure appeared after a process change, repeat the test without introducing several new corrections at once. For example, if the team suspects application settings, change only the approved setting being investigated while keeping the same blank and artwork.
Separate Production Errors From Product Decisions
A wash test should not automatically become a verdict on an entire transfer category. First confirm that the sample was prepared according to the correct application instructions. A mistake in placement, time, pressure, garment preparation, or another production variable can distort the result.
When a sample underperforms, verify the process, reproduce the test, and document the change. This protects the business from making purchasing decisions based on one uncontrolled mistake.
Use the Results to Set Internal Standards
The final purpose of a wash-test protocol is operational consistency. Once a garment-and-transfer combination passes the shop’s internal standard, document the approved blank, application method, design range, and care guidance used during the test.
If the shop later changes one of those inputs, run a targeted comparison rather than assuming the previous result automatically applies. This is particularly useful when new blanks, new artwork dimensions, or different production equipment enter the workflow.
Make Testing Part of Product Development
Wash testing is most valuable before a problem reaches customers. A small controlled test can reveal whether a new garment, design style, or application process deserves more evaluation before a full production run.
The strongest protocol is also the simplest: define the question, control the variables, label the samples, use a consistent laundry routine, inspect at planned checkpoints, and document the result. That gives a DTF print shop a repeatable decision process instead of relying only on how a garment looks immediately after the press opens.
