

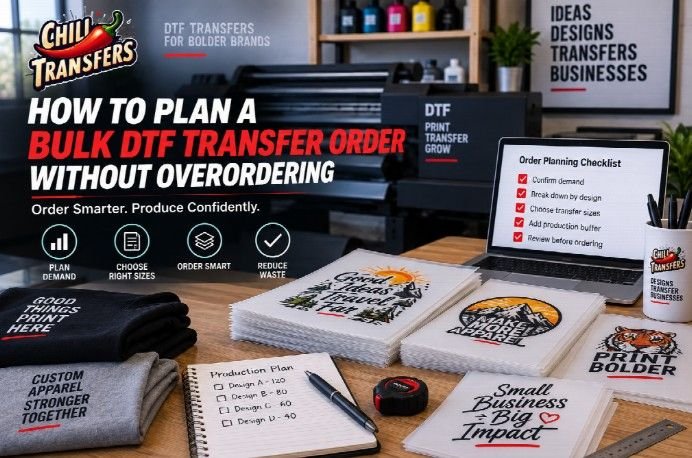
Ordering DTF transfers in larger quantities can make sense for print shops, apparel businesses, and recurring production jobs. But “bulk” should not automatically mean ordering as many transfers as possible.
The real objective is to order enough transfers to keep production moving without creating unnecessary inventory that may never be used.
Artwork changes, customer cancellations, garment-size adjustments, event dates, and revised quantities can all turn excess transfers into unusable stock. A better bulk-order strategy starts with demand planning rather than simply increasing the number of transfers in the cart.
Here is a practical way to estimate what you actually need before placing a larger order.
Start With Confirmed Demand
Separate confirmed jobs from possible future work.
If a customer has approved 100 shirts, that is different from believing the same customer may order another 100 next month. Mixing confirmed demand with expected demand can quickly inflate an order.
Create three basic categories:
- confirmed production
- likely repeat demand
- speculative future demand
Build the main order around confirmed production first.
Possible future jobs can influence your buffer quantity, but they should not automatically be treated as guaranteed orders.
This approach is especially important when purchasing bulk DTF transfers for several customers or designs at the same time.
Calculate by Design, Not Just Total Pieces
A shop may need 300 transfers overall, but that does not necessarily mean one design requires 300 copies.
Break the job into individual artwork versions.
For example:
- Design A: 120 pieces
- Design B: 80 pieces
- Design C: 60 pieces
- Design D: 40 pieces
This immediately gives you a clearer picture of where extra inventory could accumulate.
A design used for an established recurring customer may justify a larger safety quantity. A one-time event design usually deserves a much smaller buffer because the artwork could become irrelevant after the event.
Treat each design according to its own reorder probability.
Use a Controlled Production Buffer
Ordering exactly the number of transfers required can also create problems.
Production environments include setup pieces, damaged garments, placement errors, unexpected replacements, and last-minute quantity changes.
That is why a modest production buffer can be useful.
However, the buffer should be intentional rather than arbitrary.
Instead of automatically ordering 25 or 50 extra transfers for every design, consider the actual job. A short one-time run may require only a small number of extras, while a proven repeat design may justify more.
Ask:
- How difficult would it be to replace a transfer if needed?
- Is this artwork likely to be reordered?
- Does the job have a fixed event date?
- Could the customer change the design soon?
- Are multiple garment sizes using the same transfer dimensions?
The answers help determine whether extra inventory protects production or simply creates waste.
Do Not Confuse Garment Quantity With Transfer Quantity
Garment size and transfer size are separate decisions.
A shop producing 150 shirts may not necessarily use one identical transfer size across every garment.
Youth garments, adult shirts, oversized garments, hoodies, left-chest placements, and full-back designs may require different transfer dimensions.
Before ordering, create a simple size matrix.
For example:
- 25 small-format transfers
- 90 standard front transfers
- 35 larger-format transfers
If transfer dimensions vary significantly, reviewing DTF transfers by size can help organize the order according to the actual artwork dimensions rather than only the total shirt count.
This prevents a common planning problem: ordering enough transfers numerically but ordering the wrong mix of sizes.
Separate Repeatable Artwork From One-Time Artwork
Some designs have a longer useful life than others.
A company logo used on employee apparel may return again and again. A dated tournament design, graduation graphic, campaign-specific artwork, or limited promotion may not.
Your buffer strategy should reflect that difference.
For repeatable artwork, leftover transfers may remain useful for future replenishment.
For one-time designs, every unused transfer after the job represents inventory with a much lower chance of being used again.
This is why print shops should avoid using one universal bulk-order formula for every customer.
The commercial value of an extra transfer depends partly on whether the same artwork will realistically return.
Consolidate Designs When the Workflow Supports It
When several designs need to be produced together, the layout method can influence how efficiently the order is organized.
Instead of thinking only in terms of individual transfer counts, consider whether multiple designs can be prepared together in a gang-sheet workflow.
ADTF Gang Sheet Builder can be relevant when the production plan includes multiple graphics or repeated copies that need to be arranged within a larger sheet.
The important point is not simply to fit as many graphics as possible onto a sheet.
The layout should still reflect actual production demand.
Adding twenty extra logos simply because there is unused space may feel efficient, but those extras have no value if they are never pressed.
Use available sheet space strategically, not automatically.
Review the Order Before Purchasing
Before finalizing a bulk order, run one last quantity check.
Compare the order against:
- confirmed garment quantities
- transfer dimensions
- artwork versions
- customer approvals
- production buffer
- expected repeat probability
- one-time versus evergreen designs
Also make sure outdated artwork has not been accidentally included.
For repeat customers, old and new versions of a logo can look similar when files are being prepared quickly. A clean order summary helps prevent production from receiving the wrong quantity of the wrong version.
Track What Is Left After Production
The best bulk-order estimate usually comes from your own production history.
After completing a job, record how many transfers were ordered, how many were used, and how many remained.
Over several jobs, patterns become visible.
If you consistently order 15% more transfers than production actually consumes, your future buffers may be too large. If operators regularly run short because of replacements and spoilage, your buffer may be too small.
This creates a feedback loop based on real shop behavior instead of guesswork.
Bulk Ordering Should Improve Production, Not Create Dead Stock
The best bulk DTF transfer order is not necessarily the largest order.
It is the order that supports production while keeping unnecessary inventory under control.
Start with confirmed demand, divide quantities by design and transfer size, add a deliberate production buffer, and treat repeatable artwork differently from one-time graphics. Then compare the finished order against the actual job requirements before purchasing.
When bulk ordering is treated as a planning decision rather than simply a volume discount decision, print shops can keep production prepared without filling shelves with transfers they may never use.
